-
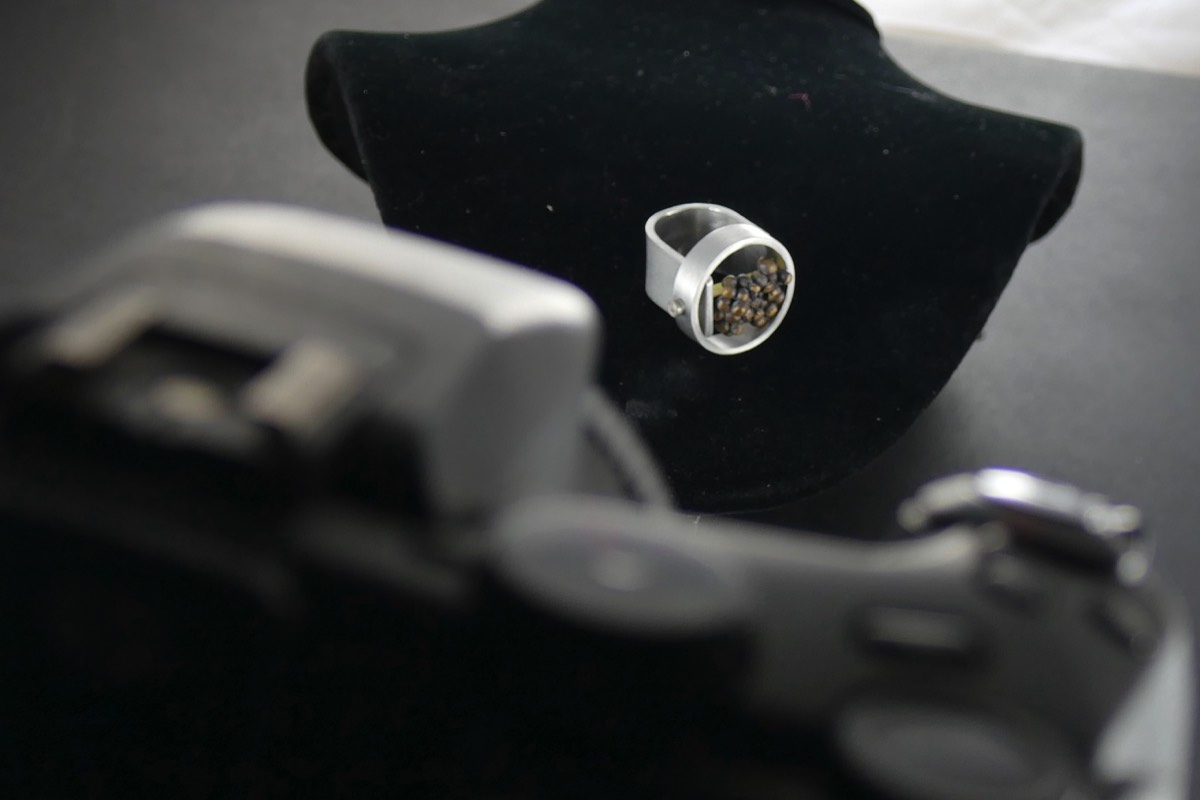
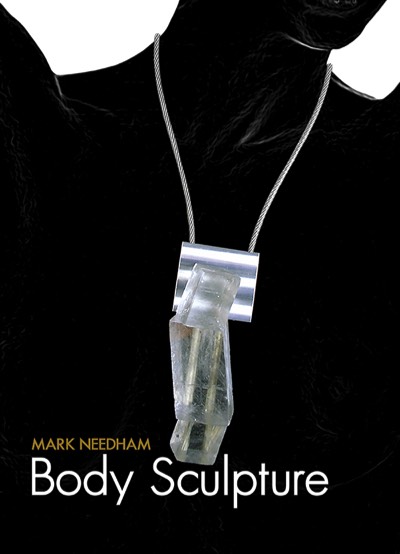
I have to design it.Each piece begins in my imagination. When I began making jewelry for my wife, I took the path of an architectural and machine aesthetic. I did not care for frills and chose aluminum as an easy to care for base metal which I could machine in a variety of methods into simple forms. Within that simplicity is the concept inherent in framing a painting, it complements but does not overwhelm what it holds.
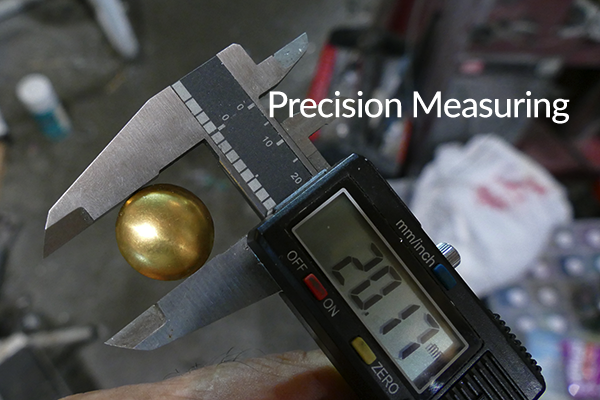
My use of manually controlled milling machines and lathes makes it impossible to make exact duplicates as would be possible in CNC machines or by traditional casting methods. I don’t use calibrated gems, preferring instead to seek unique sizes and cuts.
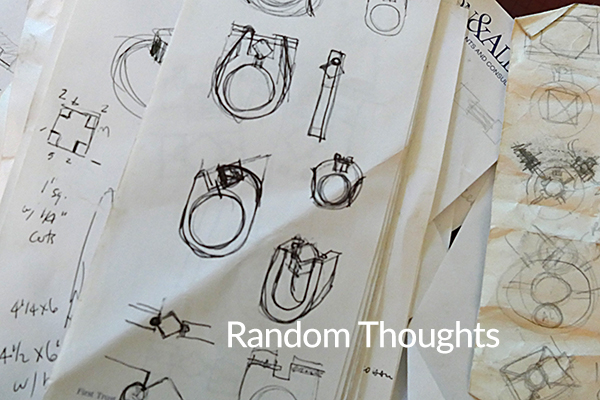
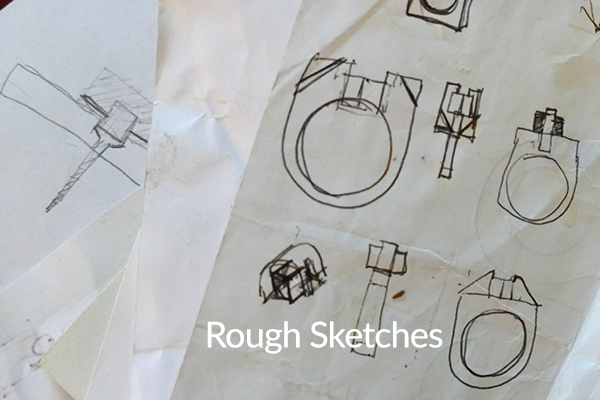
Each piece begins as a sketch or an image in my mind that showcases a gem, mineral, object or some other material that appeals to me.
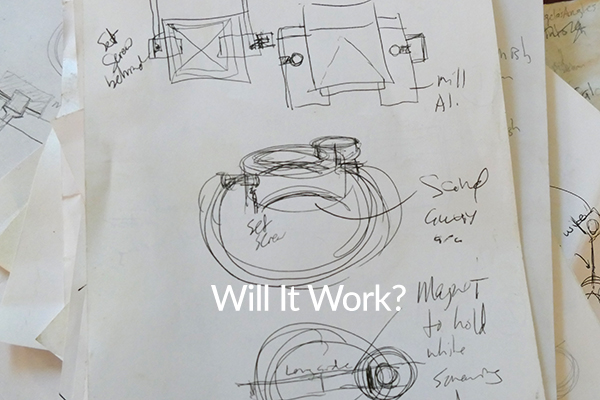
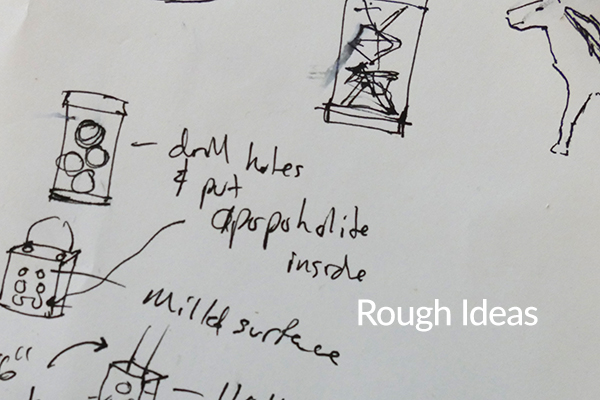
This is also the time to solve problems related to ergonomics for the wearer and the mechanics of construction. Aluminum can’t be soldered, so I have to design a methodology to make it a reality. And of course since I design and make everything, I have the power to coordinate each aspect to fully realize the piece. -
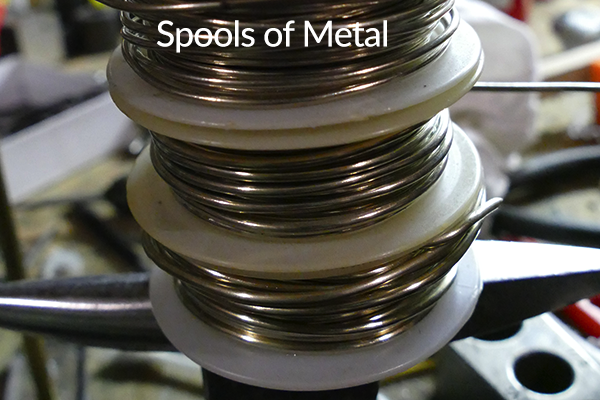
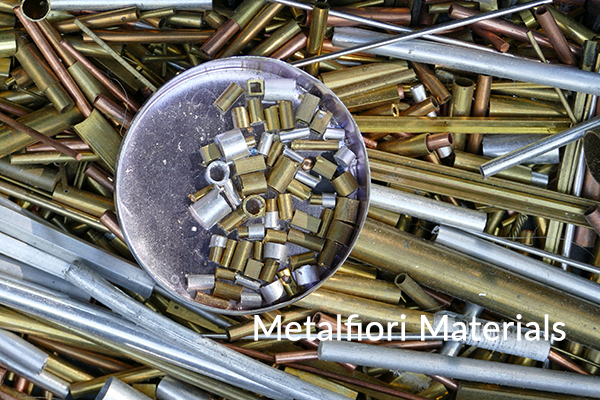
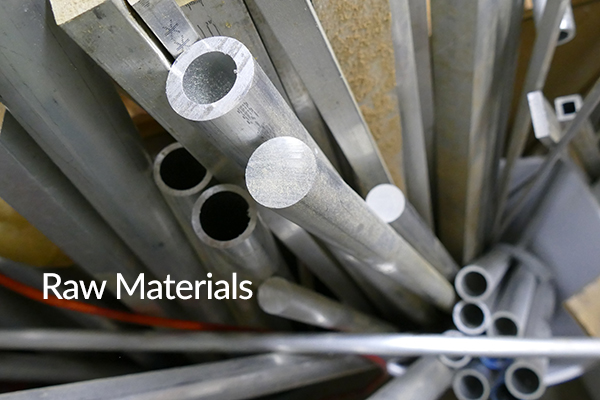
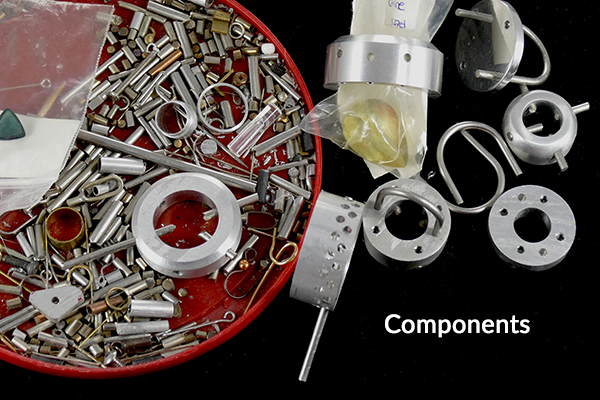
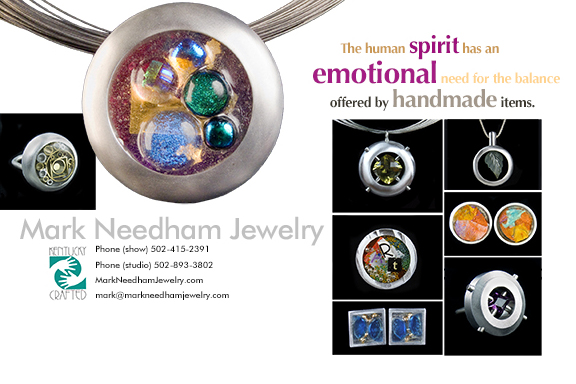
I need to find the materials.Aluminum and stainless steel are common, but they come in many forms. The same goes for plastics, bronze, brass, silver and the many other materials I use to create my shapes. A seemingly endless variety of gems and minerals also beckon. I constantly look for unique, beautiful, symbolic, practical, and impractical materials–things seldom seen.
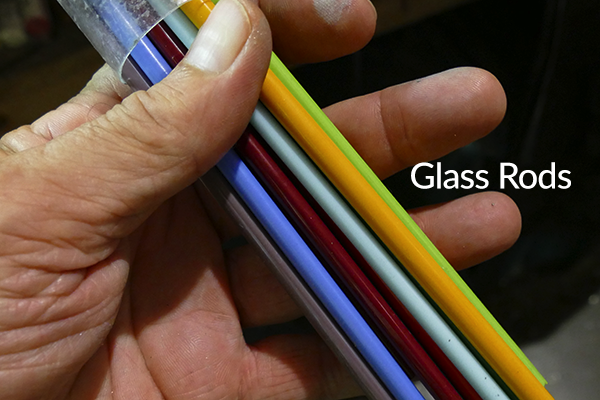
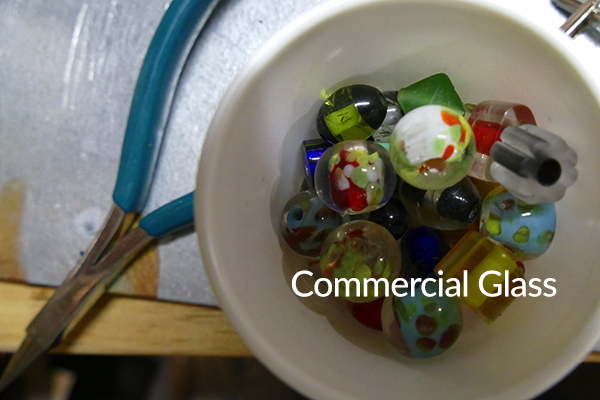
Glass is another favorite material, and I use a wide range–from commercially mass produced pieces to raw glass to hand-made production work to hand-made artisan pieces.
It’s a time-consuming process to search not knowing exactly what you’re looking for, but it’s indispensable in my effort to produce unique work that I can be proud of. As you can imagine, the shapes of objects must be accommodated by the form that frames them which leads to some complicated machining and mounting, but therein lies uniqueness. -
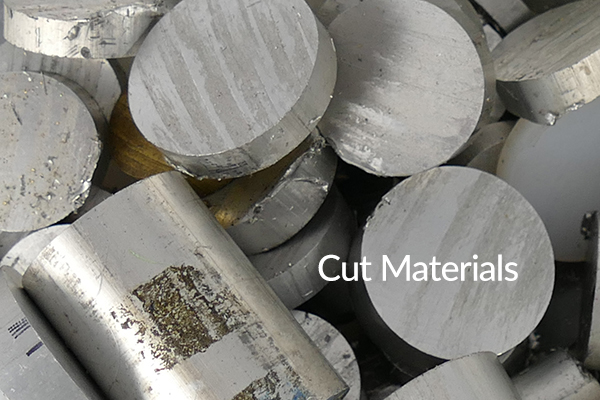
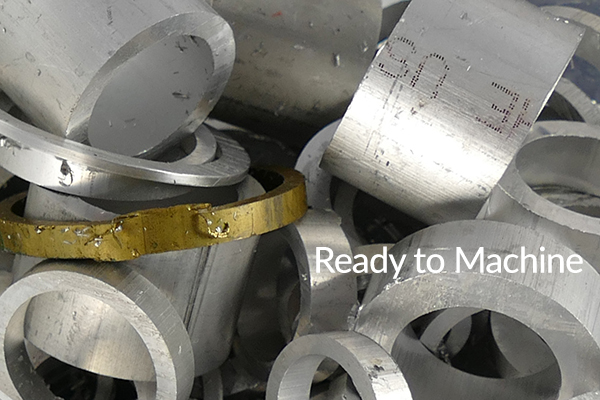
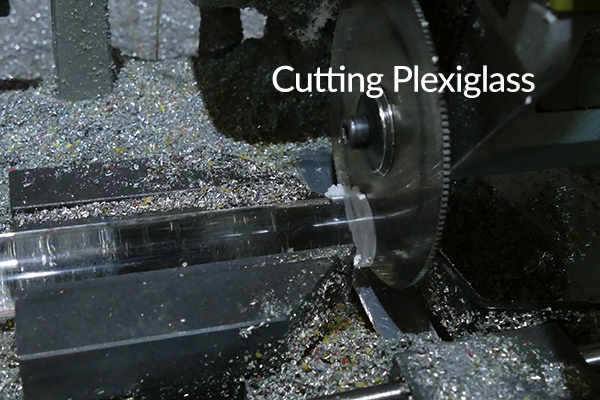
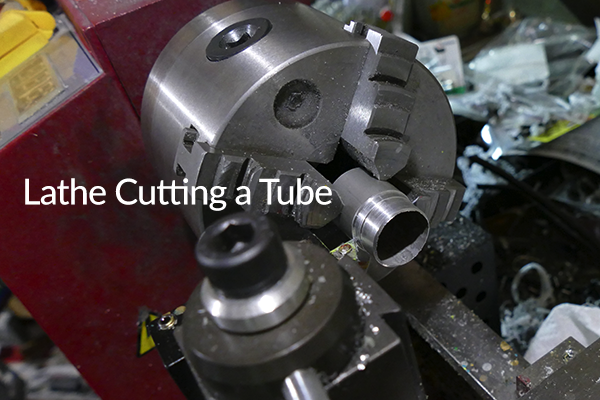
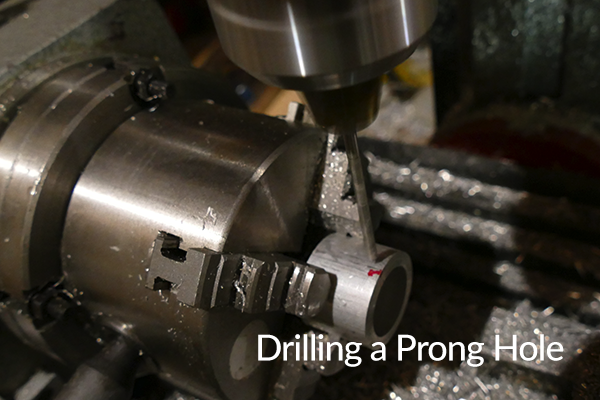
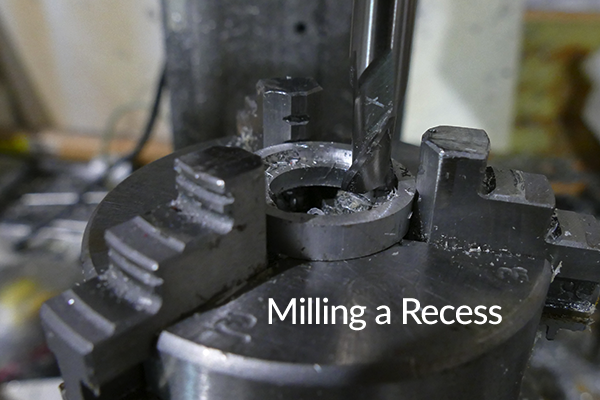
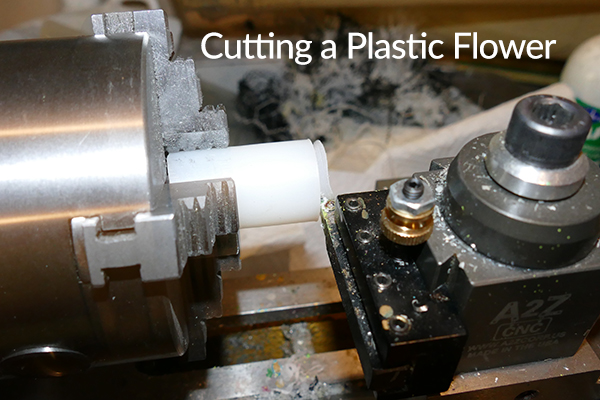
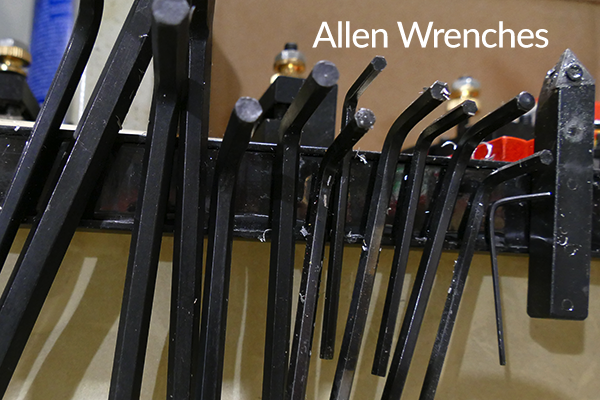
Preparation–a whole lot of cutting.A comment I often hear is, “You got this in a hardware store, right?” Well, no, not exactly. What I do is take a long piece of material and cut off a small piece. Then it’s time to cut some more. In machining or turning on a lathe, cutters remove material from whatever stock I’m using. In milling, the material is locked in place and the cutter moves; on a lathe, the cutter is stationary and the material moves; but in reality special cuts can be made when both the material and the cutters move. As in sculpting, I remove excess material from the stock in order to achieve the shape I envisioned.
Because I control these functions by hand, I can alter them on a whim or to get a different result from what I envisioned. Sometimes happy mistakes occur, and I get a result I didn’t anticipate but one I like. Most often, though, a mistake means I start over.
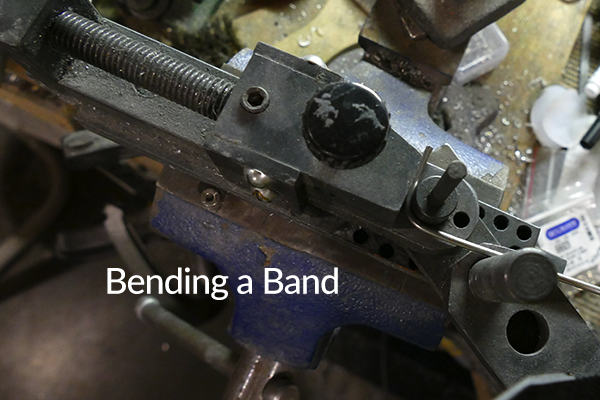
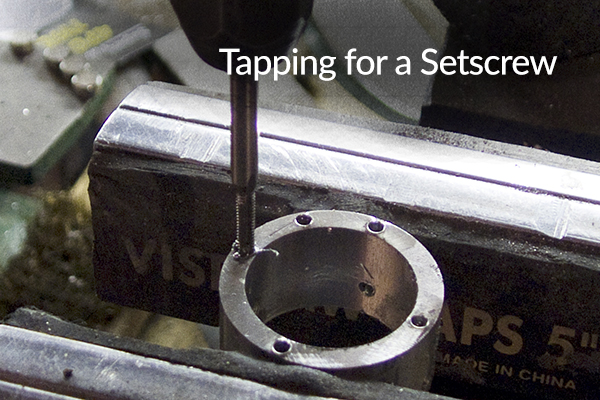
Other preparation processes involve melting metal either freeform or in a form; slicing material off in thin sections; using a punch or saw to create shapes that I can then dome or hammer; drilling holes for prongs, retaining screws and bails; tapping the holes for screws; or simple bending to make ring bands and necklace components.
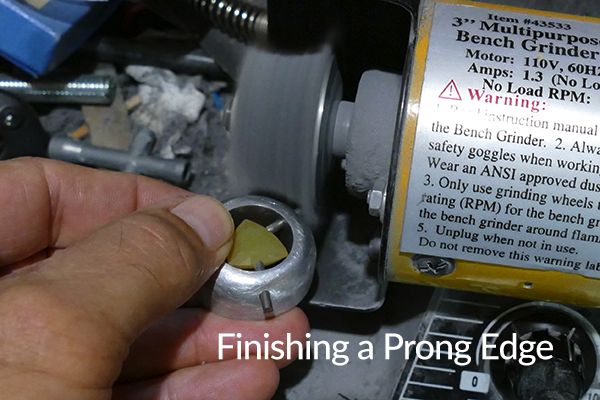
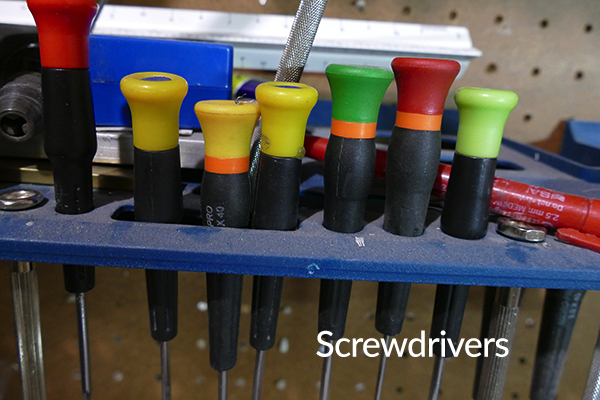
I make the settings, bails, bands, decorative components and prongs from raw material, first cutting short lengths and then doing whatever cutting or shaping is needed. -
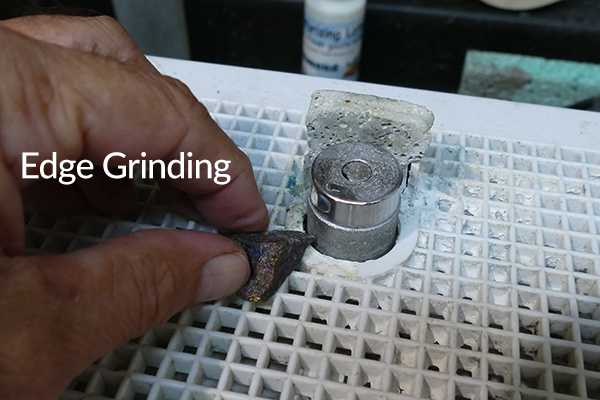
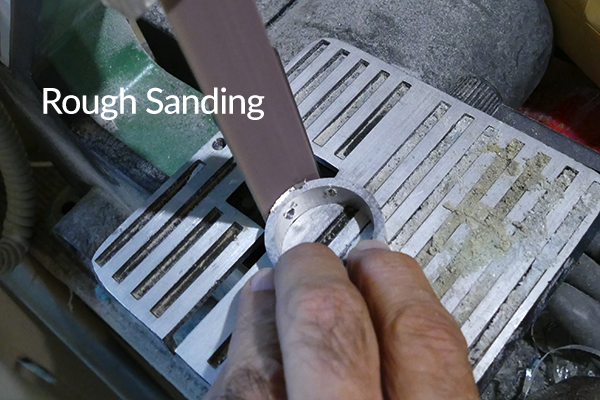
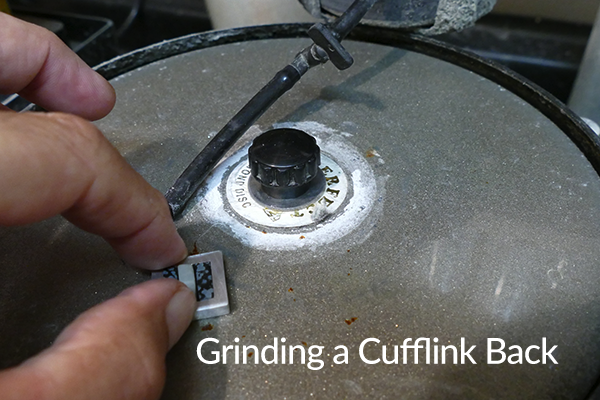
I need to finish its surfaces.After the components have been made, the initial finishing is done. The mill finish of the metals is just like it sounds, straight from the mill with ugly scratches and extrusion marks. These imperfections must be abraded away to get n attractive surface. This destructive finishing is done before assembly and I use many techniques including abrasive grinding, sanding, wire and abrasive wheels, buffing and tumbling. Abrasive grinding removes deep imperfections in the metal.
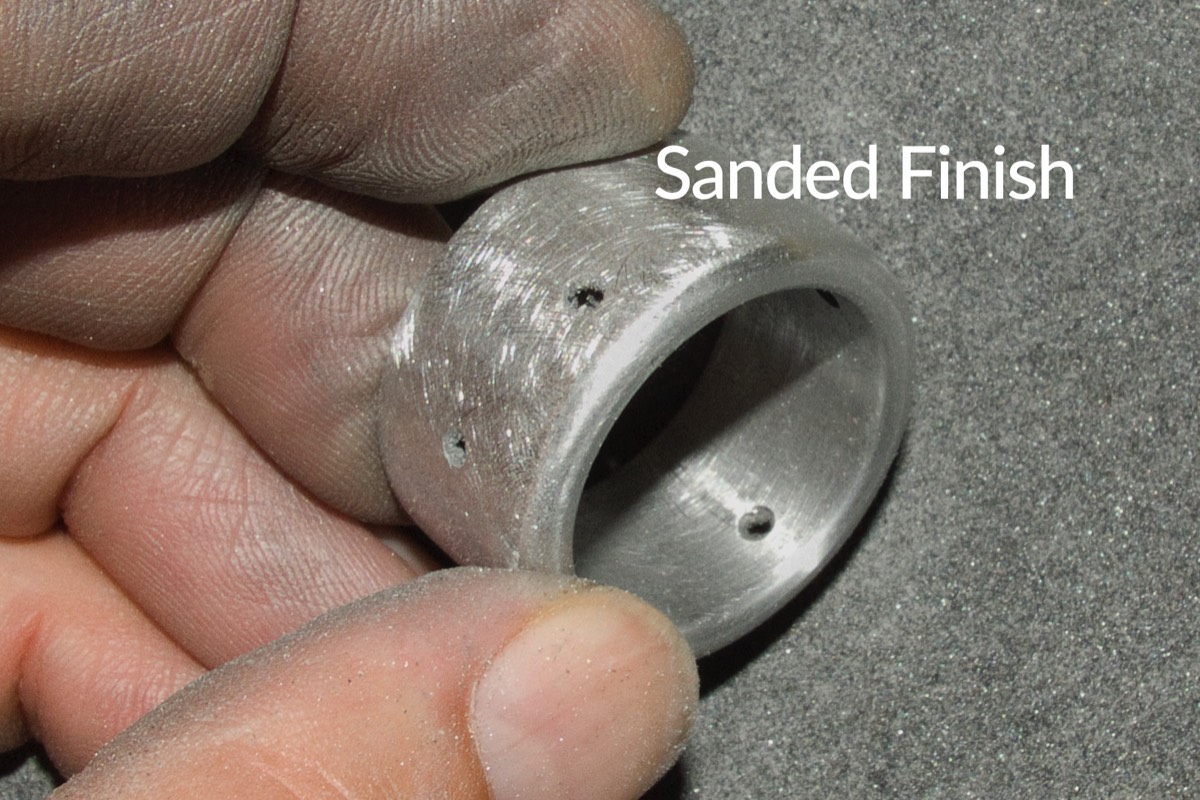
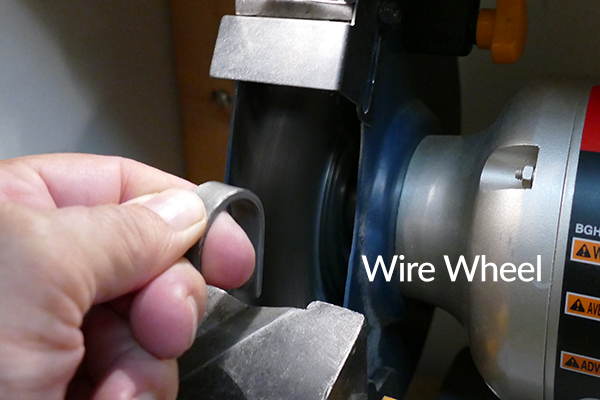
By varying the grade of sandpaper and sanding multiple times, different satin finishes can be obtained. Steel and brass wire wheels are used to create textured finishes. Abrasive wheels impart a soft look to the metal. Buffing, with its many rouges, allows me to highly polish the metal or soften the texture of other finishes.
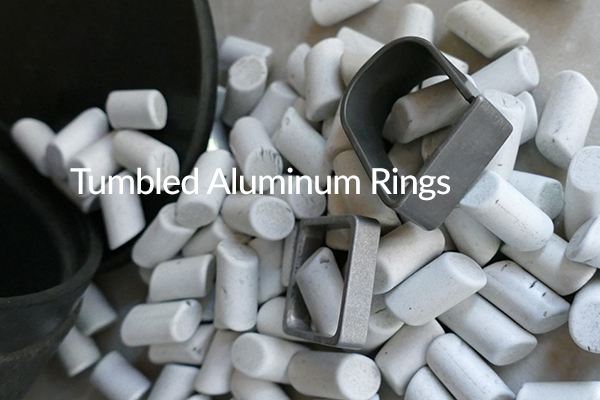
I tumble some of the components in metal, ceramic or organic media to finish, smooth and apply surface color to the aluminum.
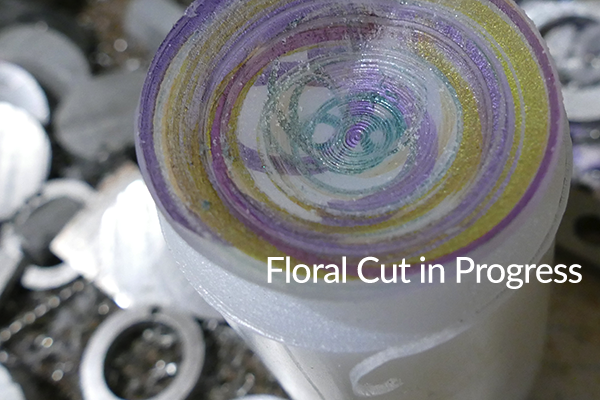
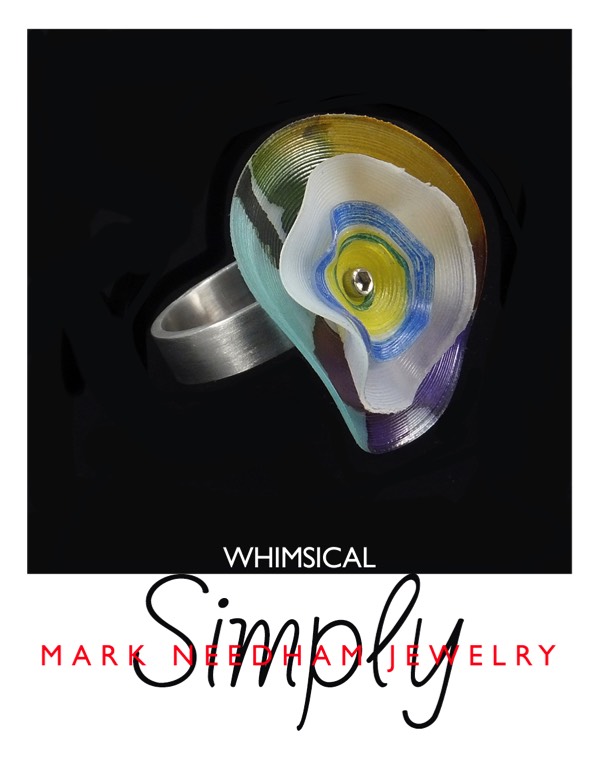
I apply paint in a variety of techniques to the turned plastic floral elements and then coat them with a clear flexible varnish.
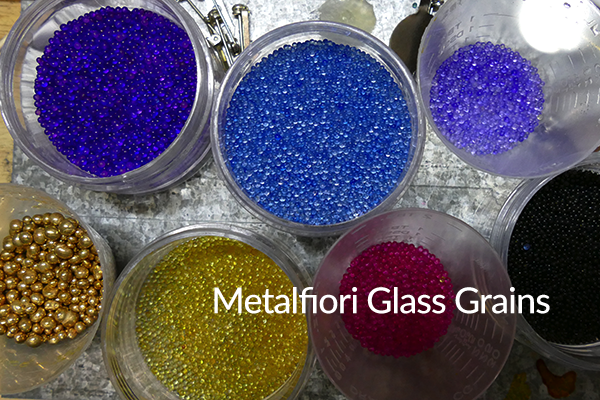
My metalfiori pieces have a natural glossy clear finish, but I alter that on occasion by sanding the entire surface or just a section of it to a matte finish. -
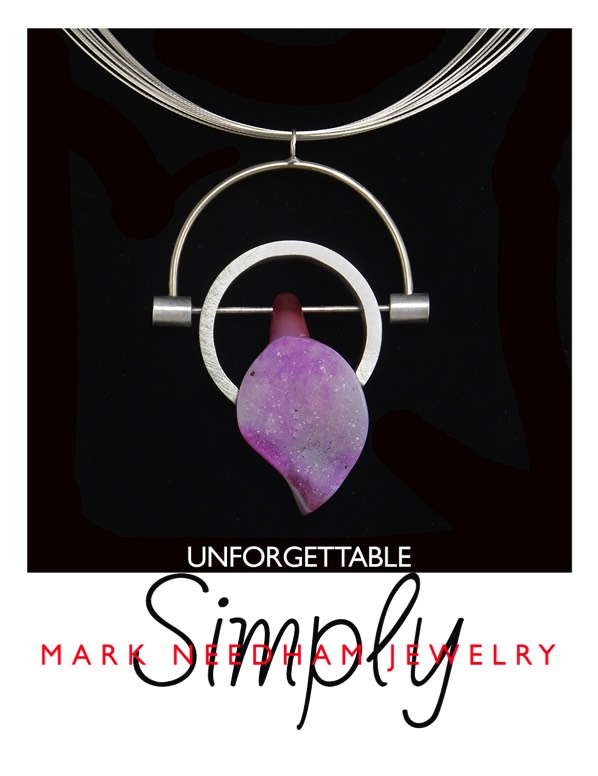
I have to assemble it.Having made the components, it’s time to put everything together. In the case of mounted gemstones I’ve made the prongs by cutting a notch in the end of the rod that fits against the girdle of the stone. The stone is positioned upside down within the setting and the prongs slid into place, constantly adjusting them to align the stone into place. It’s a tedious process, especially on oval stones which wiggle out of alignment exasperatingly often. Round and straight-sided gems are much simpler to set because relative stability can be obtained by manipulating two opposite prongs on axis does not displace the stone. With two sides stable the opposite pair is easy to adjust. Trillions require the simultaneous manipulation of all three prongs to get the stone into alignment. More sides add to the complexity and therefore time to finish the job. The prongs and bails are secured by setscrews.
Occasionally I tube set the stone. In this method a thin-wall tube is inserted behind the stone and affixed to the setting, holding the stone against the back surface of the mount. Then the band or bail is finally fitted.
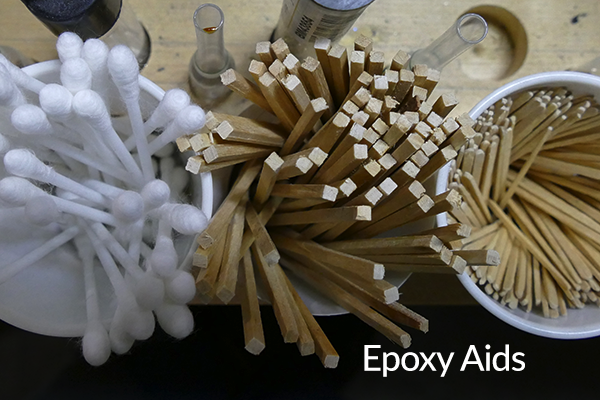
Most cabochons are set with adhesive. I use a slow (24 hour) cure ultra-clear epoxy resin for all the resin set pieces and then add a low heat additional curing step to harden the surface.
There can be upwards of 35 operations and over 100 steps to produce a single piece. And each step can take between 30 seconds to 20 minutes of direct involvement on my part. Steps that don’t require my presence, such as tumbling and drying, can take an hour to a day or more.
After final assembly the piece is refinished to remove any assembly scratches. -
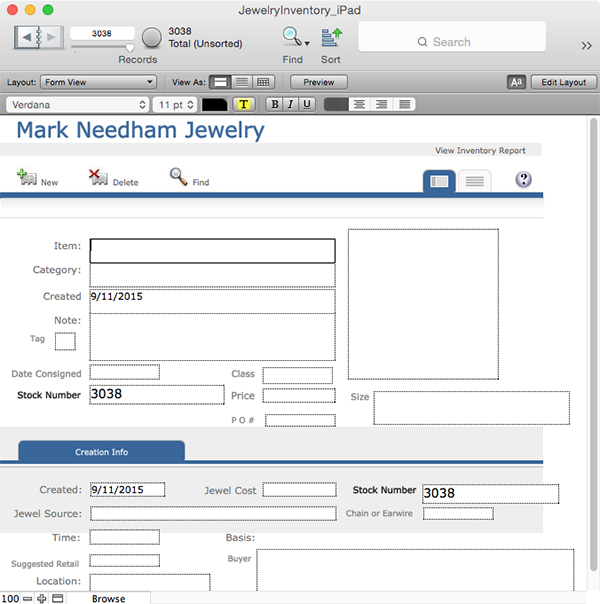
I have to document it.The finished pieces still need to to be photographed and retouched to get rid of dust specks. My database needs to be updated with the new work, including all the costs, suppliers, date created and the time spent in making it. Each piece is given a stock number which I engrave somewhere on the piece if possible. Otherwise the photograph serves as identification.
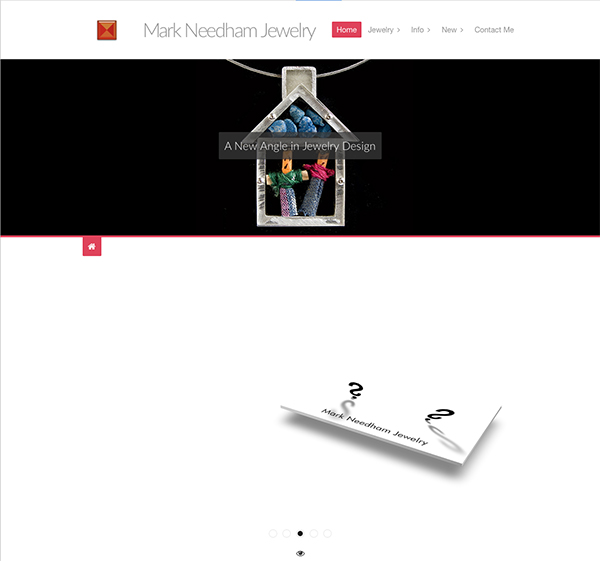
I keep track of everything in stock, on consignment or sold (and to whom). And I have to update and maintain my website.
The job isn’t finished until the paperwork is done. -
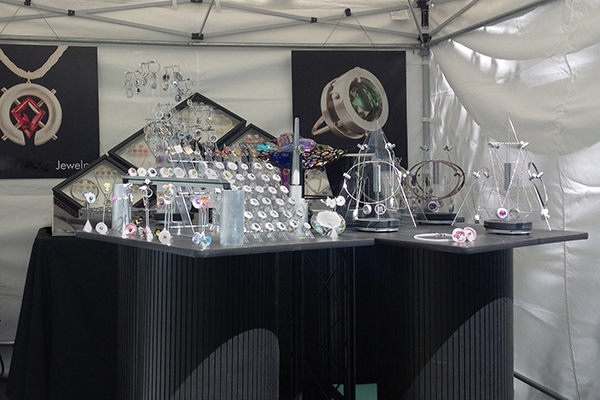
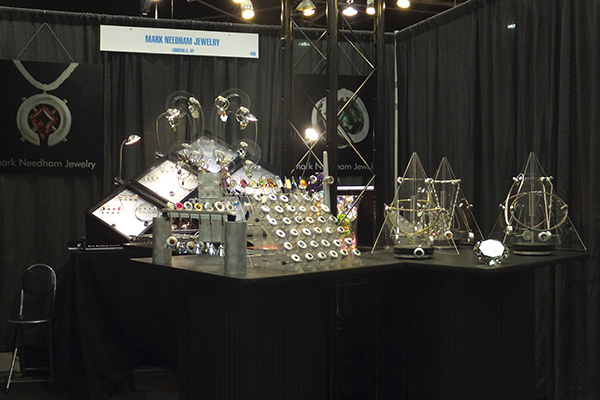
I have to market it.Of course making it isn’t selling it, so there’s all the marketing, promoting and selling (wholesale, consignment, retail in person or retail online), competitions, exhibitions, advertising and publicity.
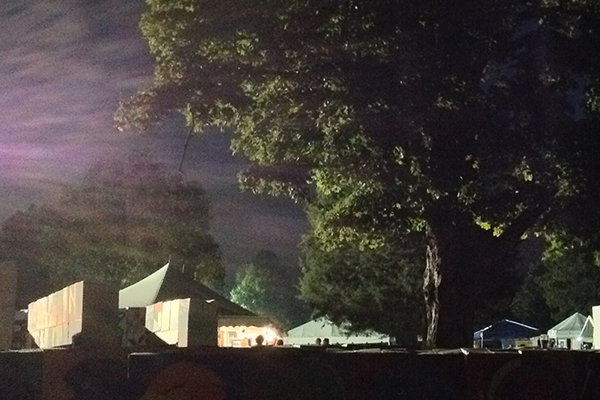
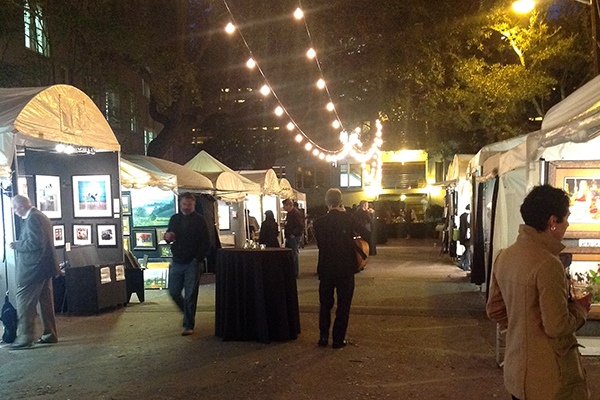
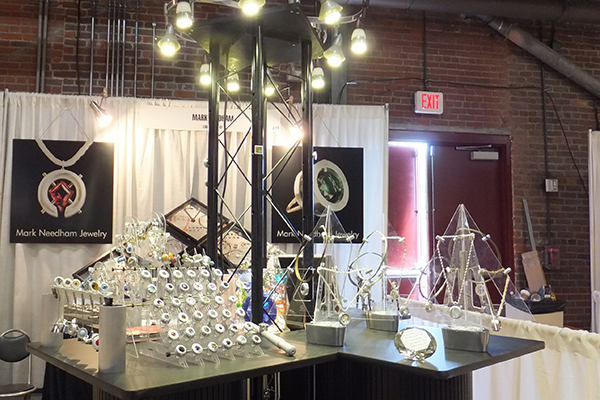
There are competitions to participate in juried art fairs. Most of you have seen me at a juried show, but there are no guarantees that I can or will ever be back. There are guild shows, wholesale shows, gallery and museum shows and if-you-can-pay-you-get-in retail shows.
There is Etsy…Facebook…and on and on. The slide show offers a few images of past fairs, ads and promotional mailers.